Here was my FB entry:
Wednesday, July 21, 2010
The best tribute video I have ever seen...
It just happens to be about the Honda NSX. (click below for higher resolution version)

Wednesday, June 30, 2010
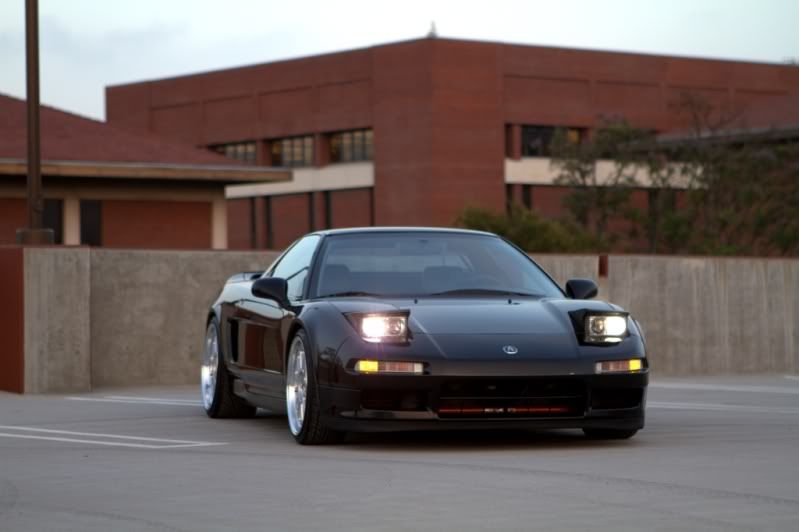
NSX on Bilstein shocks and Tein S-Tech springs
Here's a summary of drop goodness
Bilsteins: .875" Bils on lower perch front & rear
Tein: Front Ride Height:-17 mm, -0.7 inch | Rear Ride Height:-26 mm, -1 inch
Total Drop: approx. 1.575 F / 1.875 R
Allowance for 18/19 taller wheels is probably about .5-.75" inches in gained ride height so net height at the chassis lift points is higher than the above total drop. You can't notice it very well in the comparo pics but the old height was about 1 "finger" gap in Front and 2 "finger" gap in the rear.
The Teins have the following spring rates
Front Spring Rate:4 kgf/mm, 224 lbs/in
Rear Spring Rate:4.4 kgf/mm, 246 lbs/in
vs.
Stock
Front Spring Rate: 170 lbs/in
Rear Spring Rate: 220 lbs/in
Impressions: The ride is noticeably more firm. I wouldn't say harsh but much less comfortable than the prior setup. It's much much less firm than my friend's Tein RAs. It all depends what you're looking for. From a handling standpoint, I'll be able to decide if I like this setup (or not) this weekend at Angeles Crest.


Sunday, May 23, 2010
3.4L TRD Supercharger on the 5VZ-FE
After 7 yrs of happy ownership I felt the Tacoma needed a kick in the pants. I installed the TRD Supercharger which I found for a killer deal on Ebay. It was only the blower but little did I know that the biggest challenge was finding the brackets and accessories that's needed to do the install properly. It took about 5 months of casually hunting around for the little stuff.
I opened up the blower and it didn't need a rebuild - got lucky! I've had it installed for almost 4 weeks now. It's really quite awesome. Just what the V6 needed. It's perfect for a daily driver.
Here's the front view.

Side view. I had to order a new vacuum valve from Magnuson. You can also also see where I tapped in the fuel for the URD 7th Injector.

Gadget's URD kit is really clean. Everything was bolt-on and very well put together. He also machined an injector mount which mounts the 7th injector in the factory EGR location.

The biggest side expense in the kit was having to buy the a new TRD pulley and belt assembly.

All-in-all the installation was cake. It drives very well but I need a custom tune. Gadget's base fuel map is still a bit lean on my truck I feel.
I opened up the blower and it didn't need a rebuild - got lucky! I've had it installed for almost 4 weeks now. It's really quite awesome. Just what the V6 needed. It's perfect for a daily driver.
Here's the front view.
Side view. I had to order a new vacuum valve from Magnuson. You can also also see where I tapped in the fuel for the URD 7th Injector.
Gadget's URD kit is really clean. Everything was bolt-on and very well put together. He also machined an injector mount which mounts the 7th injector in the factory EGR location.
The biggest side expense in the kit was having to buy the a new TRD pulley and belt assembly.
All-in-all the installation was cake. It drives very well but I need a custom tune. Gadget's base fuel map is still a bit lean on my truck I feel.
Sunday, April 18, 2010
Pasadena Art Center Fashion Photoshoot for the Students
A friend asked to use the Chevelle for background flavor yesterday to showcase fashion designs for the Pasadena Art Center students. This wasn't a photo shoot for the car but rather it was a final project for the students to showcase their clothing designs and also a practice session for the photography students as well. It was nice to help out. Fun too.. If you recall, Art Center Alumni include the heavy hitters in automobile design such as Chip Foose, Chris Bangle, and Henrik Fisker to name a few.
Video Update:
Oscar and I took some background shots below. They didn't come out too bad. Will update once the final proofs are posted.


Saturday, February 27, 2010
S2000 Steering Wheel for NSX
I installed an S2000 AP1 Steering Wheel on the NSX last night. It's a bit smaller (330mm I believe) than the stock NA1 but with much thicker grips and overall better contour. I did not connect the SRS, for obvious safety reasons, but I did connect the horn and cruise control.

You will need to jump the outer two wires of the three prong connector. You will also need to jump the #3 and #4 pins in the four prong connector. #3 and #4 are the pins that are farthest apart. Both of these jumpers enables the horn trigger and disables the SRS/Airbag light in the NSX. If you want to use the Cruise Control buttons see further below.
I used the Science of Speed Short Rapid Hub. Kept the factory steering/cable reel on place.
You will also notice here how I mounted/bolted the S2000 AP1 wheel onto the hub. The input spline shaft and the AP1 splines do not mate properly like I was hoping for. Surprisingly the S2k wheel already has 4 pre-drilled holes. I used 4 bolts (8mm head, machine thread. I forget the exact thread pitch and size but I they were easy to find at Home Depot) to secure the wheel onto the hub. It is incredibly solid on there. I wasn't expecting it to mount so well. You will need to relocate the bottom two bolts holes about 2-3mm outward. This is by far the trickiest part of the whole install which makes this mod not a true bolt-on. The bottom bolts don't quite line up with any of the holes on the hub. You will notice that after all this the wheel is centered perfectly with the hub.


Preparing the jumper wires.
If you choose to wire the S2000 AP1 cruise control buttons you will have to follow the wiring below. Notice I had to tap into the 12v (+) pin from the horn trigger in order to provide power to the Cruise Control switches. It is a 12v(+) trigger circuit. This power wire needs to be tapped into the Blue/Red wire on the AP1 cruise control connector. Pin #1 of 4 from the cable reel is the "cruise set" trigger and this needs to be tapped into the Green/Red wire on the S2000 cruise control connector. Pin #2 of 4 is the "cruise accel" trigger and this needs to be tapped into the Green/Blk wire. I tried to find the connectors so this would be a cleaner install (no jumper wires) but I had no luck in my search.

The SoS hub is a nice piece. It provides for just the right depth and distance from the turn signal and the wiper controls. Unfortunately, it's the only thing that makes setup not look OEM.

Sunday, November 15, 2009
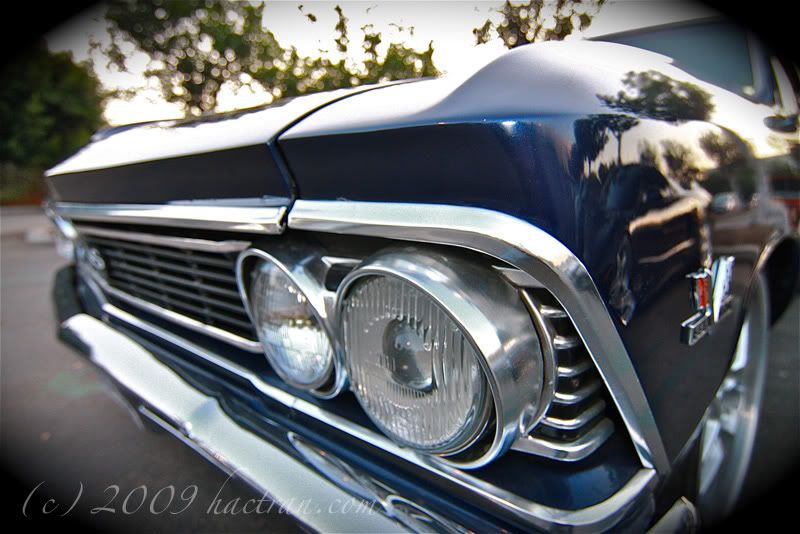
Cars & Coffee (Irvine 11/14/2009)
Took the car out for it's first long drive. 5am start and 25 miles later...
Needs a lot of dialing-in.


Needs a lot of dialing-in.
Monday, January 12, 2009
Updates!
It's been a while but time hasn't been wasted! I've been busy with running and operating the school (www.regancareer.com) but still find time to de-stress with the cars. I haven't bought anything new lately, thank goodness, but i'm still a long way from where I want be with the Chevelle. The NSX came along nicely. I might be done with that car for a while... except for a set of Big Brakes.
Now onto the updates!
NSX Updates:
1. Timing Belt and water pump changed. Seals, Cam plugs, valve adjustment, and maintenance
2. All coolant hoses
3. Bilstein shocks on lower perch with OEM springs
4. HKS Exhaust
5. Top Speed Headers
6. Shark II "shortie" antenna
7. BMW E36 wing-let spoiler
8. NA2 Rotor and Caliper brake upgrade

Comparison of NSX NA1 vs. NSX NA2 brake packages


Chevelle Updates:
1. Custom Fit 88-94 BMW E32 E34 5-SERIES 7-SERIES PROJECTOR HEADLIGHT - $25 @ Pick-A-Part
2. Retorque head bolts and wrap-up engine break-in procedures
3. Rochester Quadrajet Carb for the MPGs!
4. Flowmaster American Thunder Exhaust System
5. Summit cheapy headers. I hate them. Need to replace for a set of shorties.
6. Various leftover stereo components
7. Boyd Junkyard Dogs 17"x8" 4" BS, 18"x9.5" 5.25" BS (On Order)
To Do: I need to figure out how I want to wire the Torque Converter Locker on my 200R-4 which I finally got to shift correctly. Adjusting the TV cable wasn't as easy as I thought. Hint, you need to buy the right TV cable bracket.


Subscribe to:
Posts (Atom)